Showing posts with label Indian. Show all posts

Sunday, September 26, 2010

Mushroom Sloppy Joe Pizza Naan

I normally dun like the standard pizza base sold in local supermart as most are not partial cook therefore it will take you significant amount of time if you suddenly have pizza craving. Naan is the perfect pizza base alternative as it is readily frozen partial baked and relatively cheaper (you can get 12 frozen partial baked naans at the price of $5.95 at Mustafa) than the frozen pizza base. Sloppy Joe Pizza Naan is the easiest to cook and fastest to make among all my pizza recipe as you do not need to deal with much toppings.


Mushroom Sloppy Joe Pizza Naan
  • Delmonte Sloppy Joe Sauce (available in Jason's Market or Cold Storage)
  • 300gm of Minced Beef
  • 1 Medium Red Onion diced finely
  • 1/2 cup of peas
  • 1 Brown Mushroom thinly sliced
  • 1 Partial Baked Naan
  • 2 Cherry Tomato thinly sliced
  • Mozzarella Cheese
Sloppy Joe is a thick meat sauce similar to chili con carne or bolognese that can be use as topping for hotdog or filling served with burger bun. Rarely is it used as pizza based sauce as well as a pizza topping. The fastest way to make Sloppy Joe is to grab the really made sauce from supermart. First, you need to brown the onions then add in the minced beef and brown the beef for 10 mins. Add in the Delmonte Sloppy Joe sauce and green peas into the minced beef and onion. Gently stir until the sauce is fully incorporate into the beef. Turn down the heat and let it simmer for 10 to 15 mins then turn off the stove.

Take one naan and spread the Sloppy Joe evenly on the naan surface. Add in the cherry tomato follow by mushroom slice and finally top it off with mozzarella cheese. Pop it into the toaster oven and toast it for 10 mins till the mozzarella start to brown and it's really to serve.

Sunday, October 18, 2009

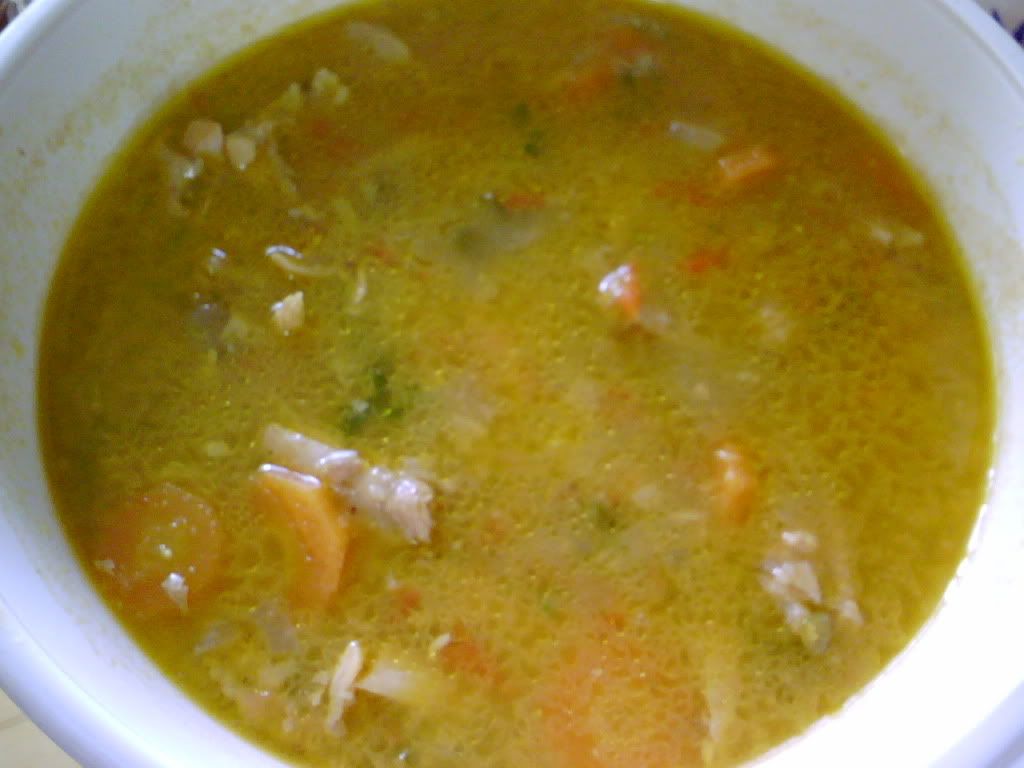
Chicken Rassa - Indian Chicken Gravy

I'm brooding what gravy should I made for the upcoming biryani cooking session as I have no idea how to go about it until I chance on Aayi's Chicken Rassa which was said to great to serve with biryani. I decided add more vegetable into the chicken rassa to spruce it up. The end result is pretty good as the vegetable made the rassa less meaty and ideal accompaniment for biryani. 


Chicken Rassa - Indian Chicken Gravy
  • 6-7 chicken wings
  • 3/4 cup chopped onions
  • 1/4 cup chopped tomato
  • 1/2 teaspoon of coconut powder
  • 2 tablespoon of yogurt
  • 1 cup of chicken stock
  • 1/2 teaspoon mustard seed
  • 4-5 cloves
  • 2″ cinnamon
  • 1/2 teaspoon coriander seeds
  • 1 teaspoon of ginger-garlic paste
  • 2 green chilies de-vein
  • 4 sprigs of coriander
  • 1 chopped potato cubes
  • 1 chopped carrot cubes
  • Oil
  • Salt
Heat a 1 teaspoon and fry cloves, cinnamon, mustard seeds, coriander seeds, red chilies, 1/4 cup onion. When onion turns slightly brownish, add coconut and fry for sometime. Blend them.

Heat 1 teaspoon of oil and fry remaining onions, ginger-garlic paste till they are slightly brownish. Add the chopped tomato and fry till tomatoes become slightly tender. Now add chicken wings and paste, fry till oil separates.
Add well beaten yogurt, salt and cook till chicken is completely done. 


Add in the chicken stock, carrot, potato and boil until the chicken tender. Add chopped coriander and cook for another 1-2mins. The gravy get better as it cooked longer.

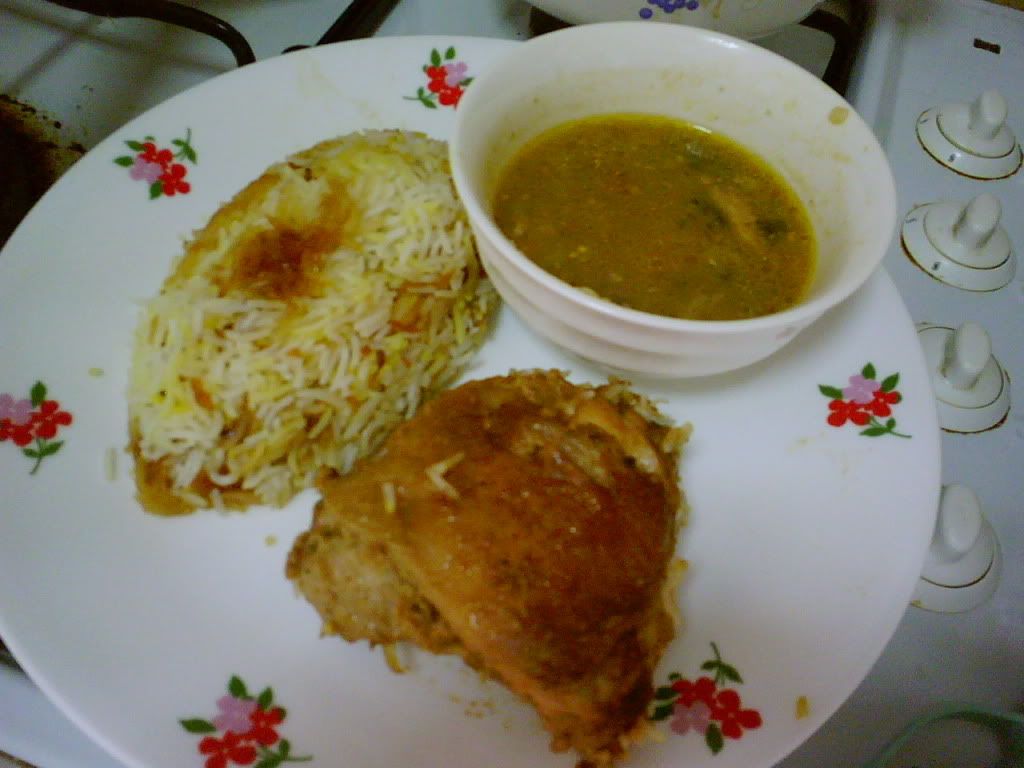
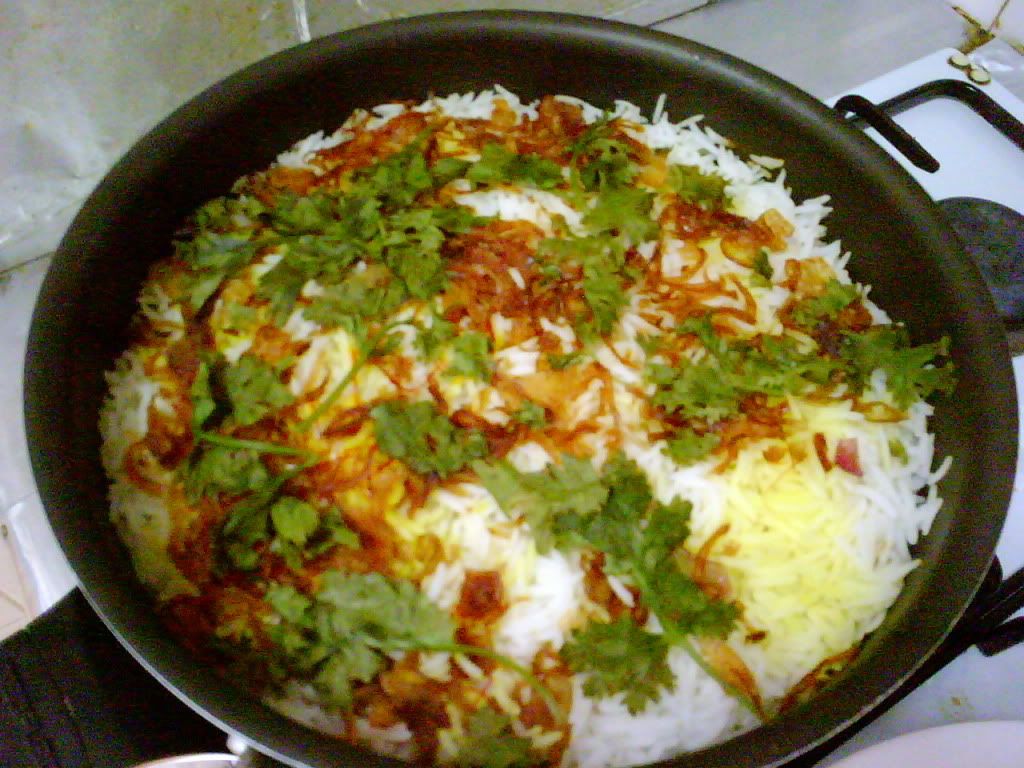
Hyderabadi Chicken Biryani

After gathering information on how Dum Biryani should taste like from Bismillah Biryani, I decide to whip my my own version of Dum Biryani Hyderbadi style to celebrate Deepavali. Before my visit to Bismillah, I had google on the web and manage to find the cooking procedure for Dum Biryani at Vahrahvah.com.

Based on Vahrahvah instruction, the basmati rice need to precook to certain degree so that when you cook the meat together with the rice both will be evenly cooked. As Vaharahvah didn't specify how much you need to precook the basmatic rice, as a result my hyderabadi biryani didn't came out exactly as I wanted as the rice is not cooked well enough. In order to resolve this issue, I steam the rice over steamer for another 10mins and it came out pretty well.


Hyderabadi Chicken Biryani
  • 4 pieces of chicken thighs with bone
  • 2 cups of basmati rice
  • 15 strands of saffron soaked in hot water
  • Chicken rassa
  • 3 tablespoon of dry chopped red onions
 Marinade
  • 60ml of yogurt
  • 1 cup of fried dry chopped red onions
  • 10 sprigs of coriander
  • 1 packet of Shan Chicken Biryani Mix 50g
  • 1 teaspoon of chopped garlic
  • 1 teaspoon of chopped ginger
  • 1 quart slice lime
  • salt
  • 1 tablespoon of oil
Marinate the chicken thighs with a pinch of salt, garlic and ginger. Squeeze a lime on the chicken and made sure the chicken thighs are evenly marinated. Mix 25g of Shan Chicken Biryani Mix with 60ml of yogurt, coriander, chopped red onions and oil. Apply to the chicken thighs and ensure all the thighs are even coated with the biryani mix. It is best if the chicken thighs are marinated overnight. 

Before you pre-cook the basmati rice, you need to soak it for at least 30 mins. After that, you boil a pot of boiling water with oil and adequate salt in it. When you add in the rice, the water will cease to boil. When the water start to boil, time the cooking for 5mins and drain the rice on colander. On thick based pot or non-stick pot, line the marinated chicken thigh with skin facing the cooking surface as the skin will help protect the chicken from over cook.


Start scooping the pre-cook rice on the chicken thigh to form a think layer, start sprinkle some fried chopped onion coriander and splash the saffron water onto the rice. Repeat for for the next layer until you have completely fill the pot with pre-cook rice. Use a wet cloth and seal the pot with the lid and cook under medium heat for 30mins until you can smell the biryani fragrance the you can start to serve it with chicken rassa. Hyderabadi Chicken Biryani is at it's best when freshly cook so do not delay serving it.


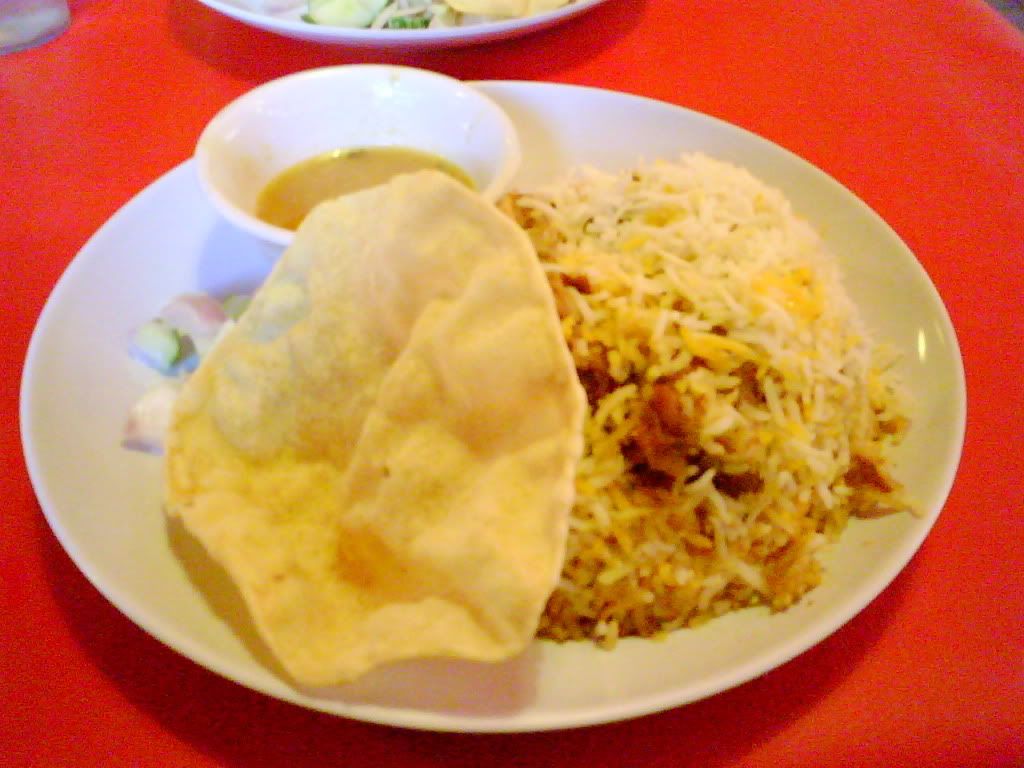
Arguable Healthiest Biryani - Bismillah Biryani

I already plan to cook Hyderbadi Chicken Biryani on Sunday to celebrate Deepavali long weekend holiday. I'm no stranger to Dum Biryani. I had tried Biryani Xpress's Dum Chicken Biryani (which uses rose water to cook their biryani) at Geylang Serai Market. After reading ieatshootipost post on Bismillah Dum Biryani, I gather my 2 food kakis and decide to give it a go this Saturday and hopefully Bismillah Biryani can titillate our tastebuds.  


Boarding the MRT with my kakis, we start to worry if Bismillah will be open on Deepavali and whether it will be packed with customers. Thanks our lucky star, Bismillah Biryani is open for business.Contrary to what we believed, business was pretty brisk at Bismillah with just a tourist couple chowing down mutton biryani at one corner. Bismillah is a biryani shop without frills, so don't complain the sweltering afternoon heat if you cannot stand dining without air conditioning.


We proceeded to order 3 Dum Mutton Biryani since it is highly recomended by ieatishootipost. It took a while before the mutton biryanis were served to us. The mutton biryani served to us totally differ from the ieatishootipost's post (link). We are slightly disappointed as Bismillah serving is not consistent to what ieatishootipost post on their blog. The photos were taken with a PSP camera, therefore it might not be able to reflect Bismallah Biryani in it's full glory since ieatishootipost uses professional DSLR camera. However, I believe it is adequate for me since all my blog photos were taken with PSP camera.

Currently, there are 2 types of Biryani cooking style Pukka & Kaccha (link). For Pukka cooking style, the rice and meat is cook separately and layer during serving. It is predominantly popular in Muslim style biryani in Geylang Serai Market. As for Kaccha cooking style, the rice and meat is cook together which is predominate in Indian Biryani. Bismillah Biryani cooking style falls under Kaccha. Therefore, their basmati rice have a very strong infusion spices as it is cook on top of the marinated mutton. My first impression of Bismillah Biryani, it is the most healthiest biryani I ever eaten as you don't feel the over-powering ghee or butter that is predominant in Biryani. The mutton is very tender and not oily at all which surprising as it is first time I've eaten a biryani that don't feel jerlat (over-powering).

However the downside of Kaccha style, the basmati rice is drier than Pakka style which is reaffirms further after I tasted Bismillah & Biryani Xpress. For those prefer moisture content higher biryani, you might prefer Pakka style more. The rassa given by Bismillah wasn't enough to moisture the dry basmati rice. Most biryani, the mutton is heavily seasoned which you don't find it at Bismillah. For those who like strongly seasoned meat, you might want to avoid Bismillah as their mutton is lightly season. The tenderness of mutton is actually the saving grace for Bismillah. If the mutton is dry and hard coupled with the their pretty dry basmati rice, I will avoid Bismillah entirely.          


Sunday, October 11, 2009

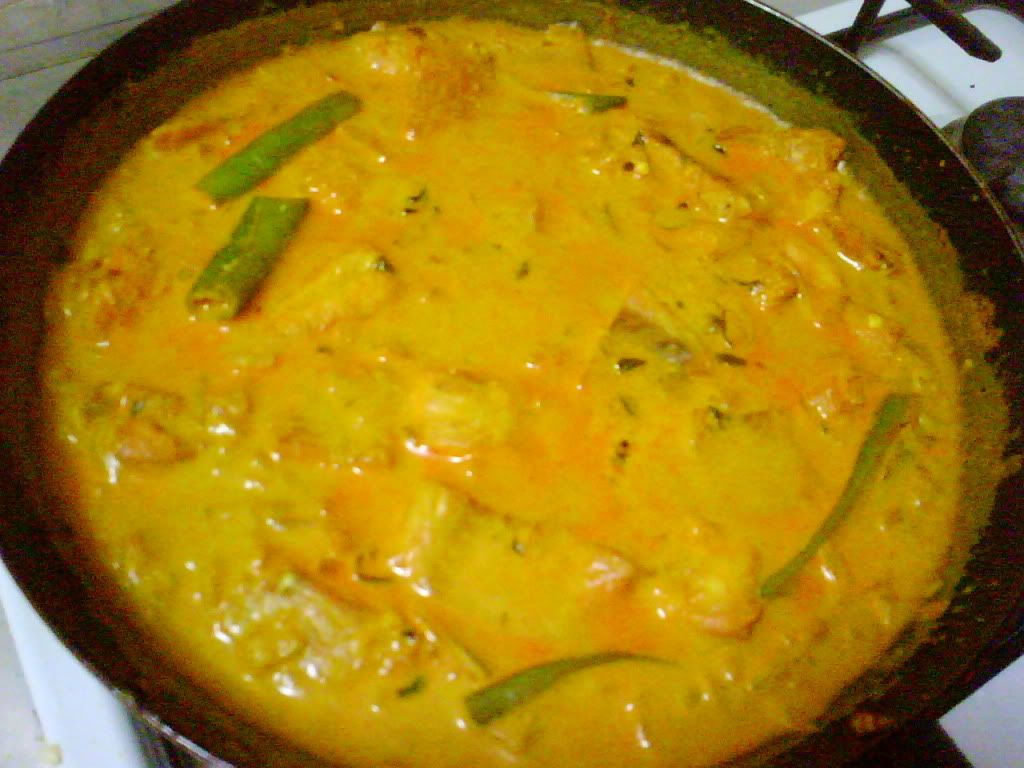
Dahi Wali Machli - Dory Fish Yogurt Curry

Northern India cusine is not known for its fish dishes due to it geographical location. However, fresh water or river fishes are still available in Northern India. Dahi Wali Machli is North India fish curry dish that is not widely known until I found the recipe off a curry cookbook. I made some amendment to the original recipe so that it is more suitable for those health conscious without sacrificing the actual taste. For those who never tried before Dahi Wali Machli, it is a light, fresh curry with a tinge of yogurt taste that doesn't overpower your palate.


Dahi Wali Machli - Dory Fish Yogurt Curry
  • 6 Pieces of dory fish fillet or sutchi fillet, cut into 4cm chunks.
  • 1 Teaspoon of salt
  • 1 Quarter slice of Lime
  • 1 1/2 Teaspoon of ground turmeric powder
  • 1 1/2 Teaspoon of chili powder
Curry Sauce
  • 3 Tablespoon oil
  • 1 Onion finely chopped
  • 1 Teaspoon cumin powder
  • 1 Teaspoon turmeric powder
  • 1 Teaspoon chili powder
  • 1 Teaspoon salt
  • 1 Teaspoon of ginger puree
  • 2 Green chilies slit
  • 100ml of plain yogurt
  • 250ml of fish stock
  • 1/2 Teaspoon of dried fenugreek leaves (can be found in Mustafa Centre)
  • 1/2 Teaspoon of garam masala
Marinate the dory fish fillet with salt, chili powder and turmeric powder. Squeeze the lime on the fish and made sure the dory fish is evenly coated with chili and turmeric powder and set it aside to marinate for 30 minutes. Heat a frying pan with a tablespoon of oil and add in the marinated dory fish and pan fried it for 2 to 3 minutes transfer it to paper towel dish to remove the excess oil. The reason to pan fried the fish is to firm up the fish and prevent it from breaking up when you add it into the yogurt curry.

Heat up the saucepan with 3 tablespoon of oil, add in the chopped onion and saute it until golden brown. Add in the cumin, turmeric, chili powder and saute until you can smell the spices begin to release their flavour. Adjust your heat to low so that you do not burn the spices and stir in the ginger and chili and fry it for another 1 to 2 minutes. Next, stir in the plain yogurt and made sure the masala is fully incorporate into the yogurt, stirring constantly to prevent the yogurt from splitting. Increase, the heat until the mixture boil.

Pour in the fish stock and stir it consistently to let the yogurt blend with the fish stock then simmer for 3 to 5 minutes to reduce it to consistency of your liking. Now, add in the salt so that you can fine tune the curry in it final stage. Add in the pan fried dory fish and continue to cook over a low flame for another few minutes. Then stir in the fenugreek leaves and garam masala and cover and turn off the heat. After that you can serve with rice.

Sunday, September 20, 2009

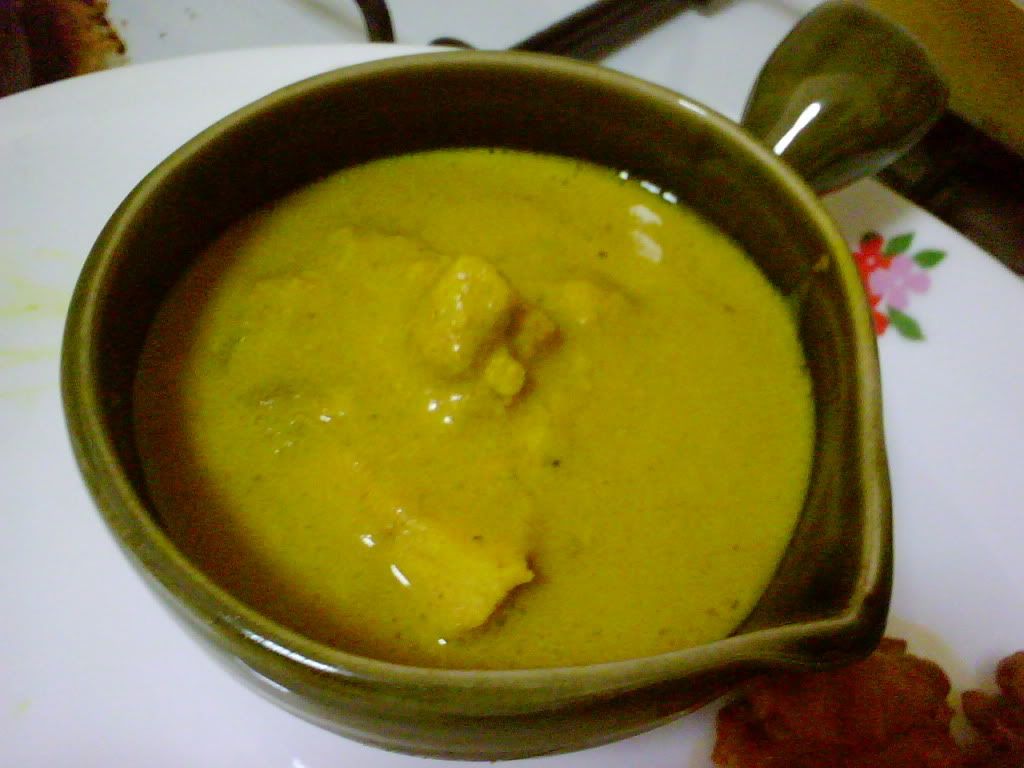
Hyderabadi Chicken Korma

I'm profess I'm quite an avid fan for Indian cuisine especially Indian curries as the curries although look the same but the taste can varies so much. While chatting with one of my friend (also Indian cuisine fan), he reminisce how he craved for Chicken Korma served with Parantha during his childhood years with it non-spicy yellowish gravy and succulent chicken drumstick that etched deeply in his memory.

This prompt me to google in the web for the recipe that matches his description. After much filtering, I managed to find the Bahavani's Chicken Korma matches closely to my friend description of Chicken Korma. I decide to give it a try with a twist in the preparation to increase the flavour of it.

Hyderabadi Chicken Korma
  • 800 grams of Chicken Thighs Chunks
  • 1/2 cup of Roasted Cashew Nuts Powdered
  • 2 Green Chili Pureed
  • 4 Cloves
  • 1 Cardamon
  • 1/2 Teaspoon of Garam Masala
  • 1/2 Teaspoon of Cumin Powder
  • 1/2 Teaspoon of Turmeric Powder
  • 1/2 Teaspoon of Coriander Power
  • 1 Tablespoon of Yogurt
  • 1 Tablespoon of Butter
  • 1 - 1/2 Cup of Water
  • Salt
Marinade
  • 1 Teaspoon of Garlic Chopped
  • 1 Teaspoon of Ginger Chopped
  • 1 Teaspoon of Cumin Powder
  • 1 Teaspoon of Turmeric Powder
  • 1 Teaspoon of Coriander Powder
  • 1 Tablespoon of Yogurt
Unlike Bahavia's recipe, I prefer to pre-marinate the chicken piece as it allows the spice to permeate into the chicken better. After you rinse the chicken thighs dry and chopped it to chunky pieces into a mixing bowl. Add in the marinade ingredient with a pinch of salt and mixed it well with the chicken chunks. Take care to use a spatula or gloves to do the mixing to prevent your hand being stain by the Turmeric powder. After that, keep it in the refrigerator overnight to allow the marinade to soak into the chicken.

Heat up the non-stick frying pan or pot and add in the butter and let it melt. Made sure the heat is set to medium so that the butter doesn't burn. Next add in the Cardamon & Cloves and fry till you smell the fragrant then add in all the dry spices and stir it vigorously at medium low heat for a few sec till the butter separate. Add in the blended green chili and fry it for 1 minute then add in the yogurt fry for another 2 minutes. Add in the marinated chicken in to fry. If you find it too dry you can add in a bit of water. Next, add in the cashew nuts as it will give the curry more body and flavor. After 5 minutes, add in half a cup of water and lower the heat to let it simmer 10 to 15 mins so that the chicken will remain succulent and not overcook. Now you can add in salt to adjust the flavor to your liking.


Saturday, September 12, 2009

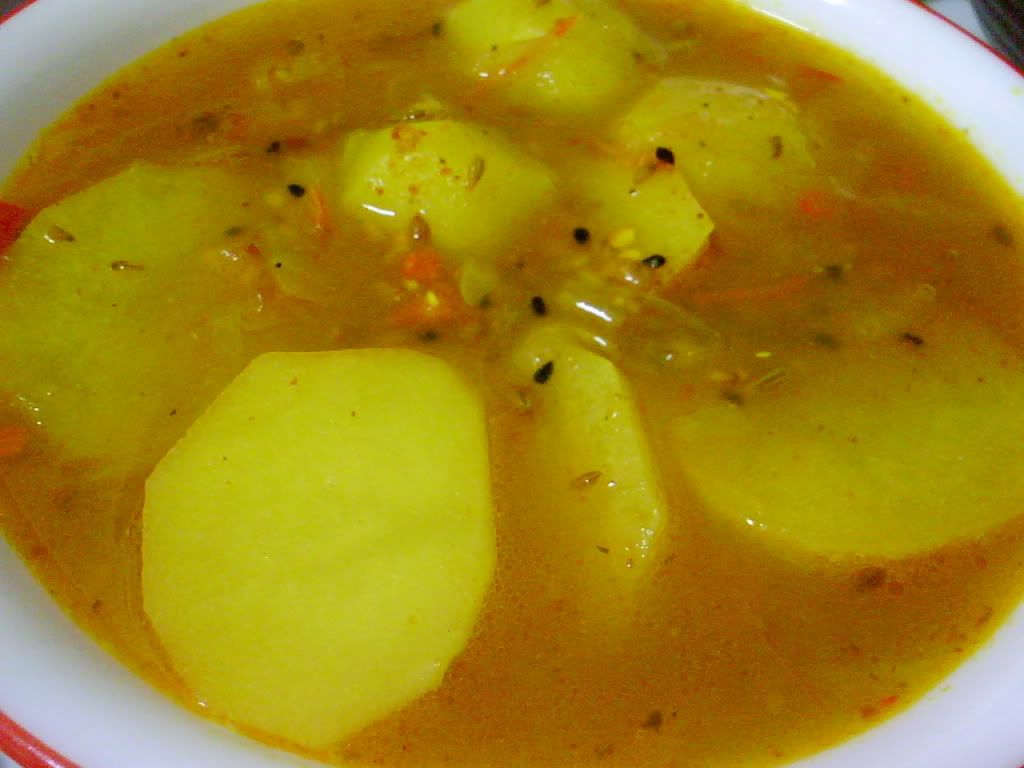
Aloo Bhaji

Beside the usual meat type curries India is famous for, actually there are a lot of vegetarian cuisine in their staple diet with primary focus on Dal. Aloo Bhaji (Potato Curry) is one of those easy to cook Indian vegetarian dish that is not too overwhelming for general people. It is ideal to pair it as a side with parantha or rice.

Aloo Bhaji
  • 4 medium potato slice thickly
  • 2 tablespoon of Shan Aloo Bhaji Mix (retail $1.90 SGD in Mustafa Centre)
  • 1 medium tomato chopped cubes
  • 1 medium onion chopped cubes
  • salt
  • 2 chili padi sliced thinly
  • 1 chili slice thinly
  • 1 1/2 cup of water
  • 2 tablespoon cooking oil
Heat up the non-stick pot with cooking oil, add in the chopped onion and stirfry it until it start to brown and soften. Add in the chili and fry for another 2 mins and stir in the chopped tomato. If you find the masala too dry, you can add in a spoonful of water until you see the oil start separate. Add in the 2 tablespoon of Shan Aloo Bhaji Mix  into the masala and stirfry it for another 2 to 4 mins. Add in chopped potato and stir and ensure the masala coat every piece of potato for 5 mins. Add in the water cover let it boil for 10 mins. Open and check if the potato is tender by poking it with a fork. Once the potato is tender, lower the heat to a simmer to reduce and thicken the curry. Do a taste test and add additional salt if necessary. Once you satisfied with the taste, switch off the stove and serve.

Sunday, September 6, 2009

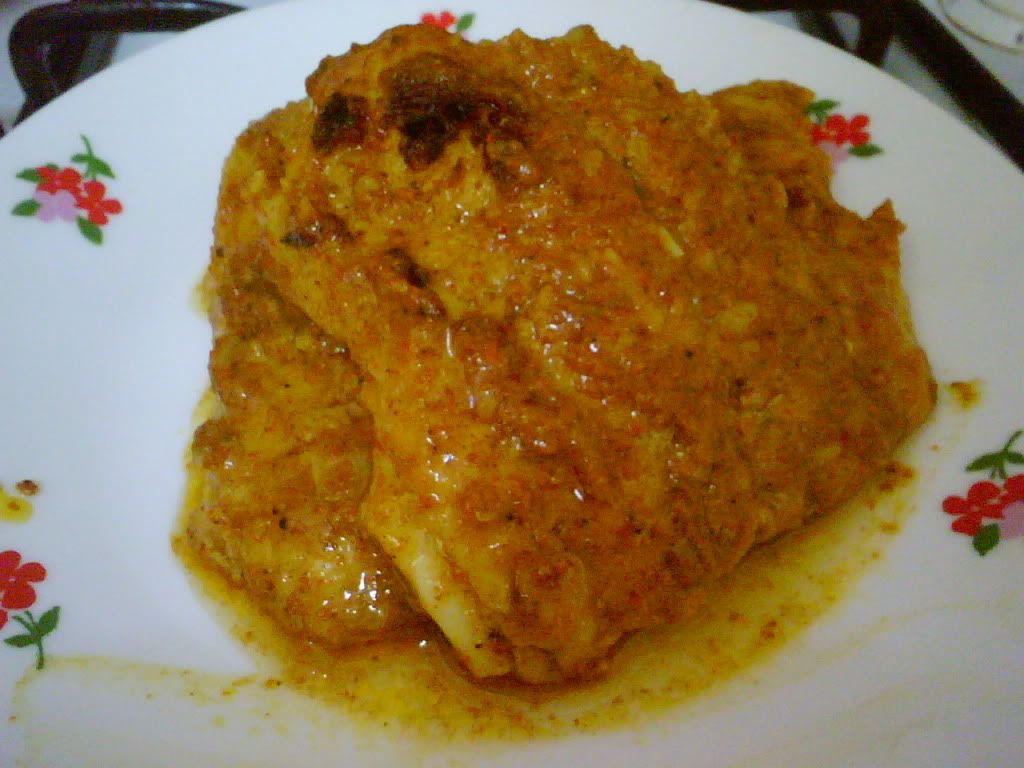
Pan Fried Tandoori Sutchi Fillet

I start to feel I have been emphasizing too much meat recipe especially on poultry and it's getting kinda boring. I got some tandoori mix left from previous cooking expedition and decide why not do a Pan Fried Tandoori Sutchi Fillet as it will be quite a novel dish. It is best served with rice or you can innovate and serve it as a Tandoori Fish Burger with fresh lettuce. 

.Pan Fried Tandoori Sutchi Fillet
  • 3 Pieces of Sutchi Fillet (2 Pack $3.20 at NTUC Fairprice)
  • 1 Teaspoon Garlic Mince
  • 1 Teaspoon Ginger Mince
  • 2 Tablespoon Tandoori Mix
  • 2 Tablespoon Yogurt ($1.20 at Sheng Siong)
  • Salt
  • Lime
Thaw the 3 pieces of sutchi fillet and made sure you run through water to clean it. After that, pat it dry with paper towel or squeeze out excess water with your hands. Sprinkle a bit of salt across the fillet and squeeze lime juice and give it a good rub and leave it to marinate for 15 mins.

Mix garlic, ginger, tandoori mix and yogurt to you get a fine paste. Applied it onto the sutchi fillet and ensure all of them are evenly coated. Leave it to marinate overnight for best result if not at least 1 hour. Heat a skillet or frying pan light coat with oil, panfried the sutchi fillet till each side start to brown.  

Beef Keema

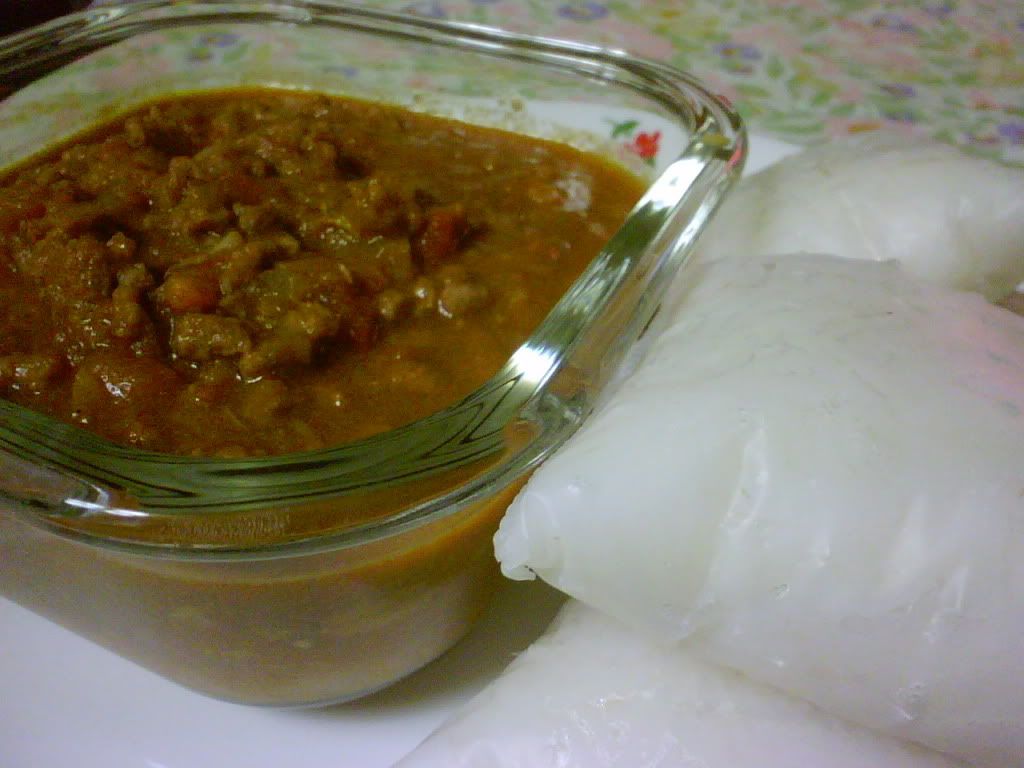
Keema is one of staple dish in North Indian Cusine serve with Naan bread toast over a tandoor. I used to frequent one of my favourite North Indian stall at Sim Lim Square Food Court as the chef there allow you to customize the spiciness of the Keema according to your preference. Since the stall had relocate to Little India, I hadn't have Keema for years and decide to indulge my craving by cooking my own Keema.

 Beef Keema
  • 500g Minced Beef
  • 1/2 Cup Green Peas (can add Corn Kernel or Carrot to reduce the meatiness)
  • 2 Medium Onion or 1 Large Onion
  • 2 Medium Tomato Chopped
  • 1 2inch Cinamon Stick
  • 2 Bay Leaves
  • 4 Cloves
  • 4 Green Cardamon
  • 1 Teaspoon Garlic Mince
  • 1 Teaspoon Ginger Mince
  • 1 Tablespoon Coriander Powder
  • 2 Tablespoon Chili Powder (1 1/2 Teaspoon Chili Powder for less spicy)
  • 1 Teaspoon Cumin Powder
  • 1/4 Teaspoon Turmeric Powder
  • 1 Teaspoon Garam Masala
  • Salt
  • Cooking Oil
  • Da Bomb Hotsauce (Optional)
Heat a non-stick pot with 2 to 3 tablespoon of cooking oil, add in the bay leaves, cloves, cardamons and cinnamon stick and fried it till you smell the dry spice fragrance. Add in the chopped onion and fried together with the spice until it start to turn brown. You might add a bit of water if you find it too dry to facilitate caramizing the onion. After that, add in the chopped tomato and ginger and garlic mince to fry it further until the oil starts to separate.


After that, add in mince beef and fried it for 4 to 5 minutes. Add in the Cumin Powder, Coriander Powder, Turmeric Powder, Chili Powder and Garam Masala and stirred the mince beef till it is evenly coat with the powder spices for 1 minutes. Next you can stir in the green peas and cook for another 2 mins. If you find the keema too dry, add in half a cup of water cover with a lid and let it simmer. Finally, do a taste test on the Beef Keema and add salt accordingly to your palate. The beef keema I cooked lack the spiciness I craving for therefore I add 1 drop of spice it up to my liking. For those faint of heart of spiciness, you have just follow the original recipe.

Sunday, July 26, 2009

Tandoori Chicken

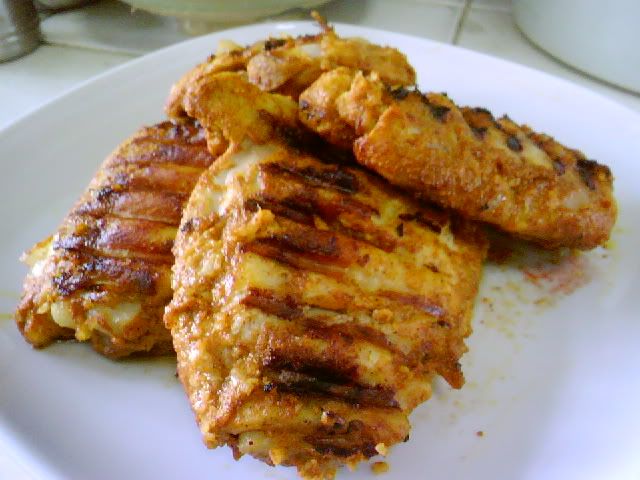
Tandoori chicken is one of the most significant roast chicken dish in India. It is commonly mistaken tandoori chicken supposed to have a reddish or orangey appearance which is not true. Indian restaurant add food coloring to made the tandoori chicken appear orangey or reddish in color before roasting in tandor. Another downside with roasting the chicken in tandor the chicken meat will become too dry. Therefore, tandoori chicken sold outside commonly fall in this category. My rendition of the tandoori chicken will be grill rather than roast so as to keep the chicken meat succulent and still retain the wholesome flavour of the tandoori spices.


Tandoori Chicken

  • 4 Chicken Thighs
  • 2 Tablespoon Tandoori Spice Mix
  • 1 Teaspoon Garlic Puree
  • 1 Teaspoon Ginger Puree
  • 1 Tablespoon Plain Yogurt
  • Pinch of Salt
  • 1 Tablespoon of Lemon Juice
Remove the skin from the chicken thighs. Use a knife slice deep slits on chicken thigh and apply salt and lemon juice to it and leave it marinated for 15mins.

You can move on to prepare the tandoori paste while the chicken marinate. Add in all the ingredients into bowl and mix it until it form a paste form. Then apply to the chicken thighs and made sure all it is even applied and let it marinate for at least 1 hour or for best result overnight.

Heat up the grill until it hot enough and apply adequate oil to the grill. Once it start to smoke, put the chicken onto the grill and grill it for 10 mins on 1 side and 10 mins on the other side and you are ready to serve it over plain rice. 

Here is a tip, if you worry the grilling time is not enough to fully cook the chicken thighs. You can heat it up in the microwave under high settings for 2 minutes to fully cook it.